Search This Blog

Translate

Showing posts with label architectural salvage. Show all posts

Sunday, August 7, 2016

Junk Yard Treasures

Our son bought several architectural porch posts on Craig's list and I was asked to go pick them up as it was closer to where we lived. 
I had no idea to what to expect, but was so happy to find this place. 
 
First, we were greeted by this huge cast iron eagle. If I remember correctly ... a huge U.S. flag hung on the large metal post. 
After I picked up my son's purchase, I asked if I could look around and take some pictures ... (hoping to find a treasure that I could buy). 

Well ... I found lots of treasures, but nothing seemed to be for sale.
(excuse being ... I might need that or my son wants that)

I did buy a few more weathered porch posts/columns to make legs for a harvest table I planned to build. 

Now FOUR years since the trip to that junk yard and here they still stand in the corner of my workshop.


 grab button for Adirondack Girl @ HeartThanks Diana, Adirondack Girl @ Heart for featuring this blog on Vintage Charm # 42.


Here are a few treasures that I saw.    
  
 Large augers for drilling holes in the ground ... 
maybe for fence posts.

 interesting


FORD 2000 Diesel tractor that still runs with the help of some starter fluid.  


 SAFEMARK spare tire

 Does not look safe to me.


  Added weigh.


Conveyor 

Loved the patina ...

I really wanted this chicken nesting box !!!   

Not for sale. His grandson may start raising chickens and need it  ...
And look at the wire cages with rabbit feeders.

Some child will remember the fun times on this  old scooter. 
Love the blue color.


 This place was originally a sawmill ... just look at the size of that blade !!!


... but look at the size of the trees he cut. 

There were several large slices from trees laying around. 
Wish I had asked for some.

This looks like a cedar. 


Don't know what this is ... but interesting.

    It had rained the night before and everything was so fresh and clean.
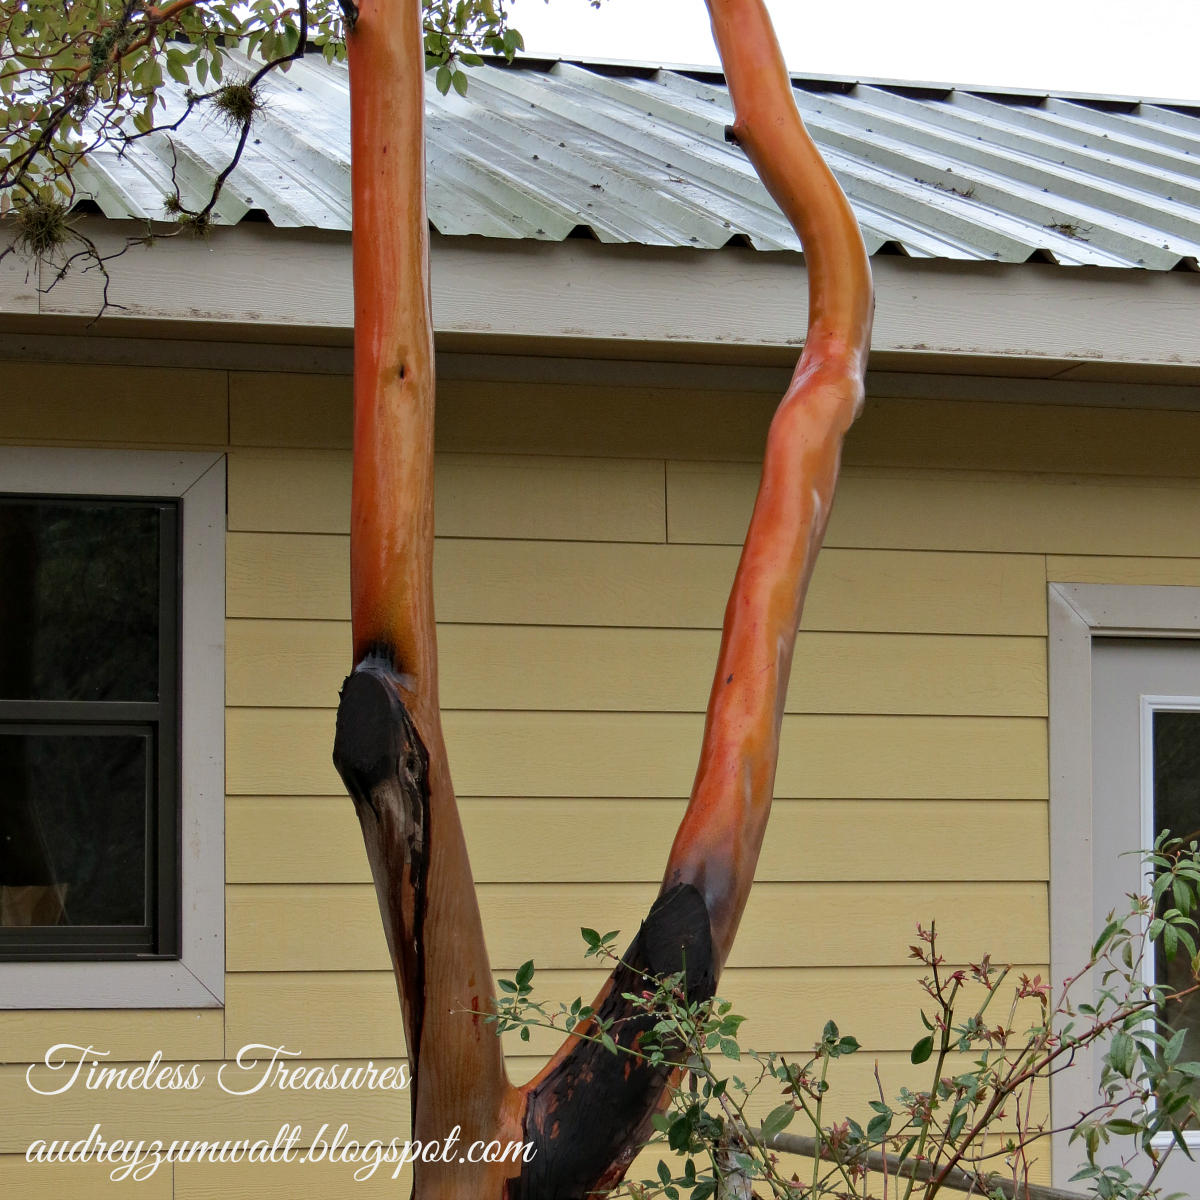
The old man told me the name of this tree, but this trip to the Junk Yard was several years ago and I have forgotten. 

He described the limbs to feel like rubbing the legs of a lady who was wearing silk hose. WOW!
Most Texans use their hands to illustrate what they are saying. He was good at this by cupping his hands together and giving and up and down motion. lol
  

  Don't fence me in ...


Hope you enjoyed the trip to the Junk Yard ... yes, there was a junk yard dog, but he was behind the fence and he did his share of barking.  

For the pictures, I was looking for something unusual, texture, color and patina ...  I think I found a good variety.


I did find an old galvanized funnel on the ground, picked it up and Mr. JunkYard man gave it to me.


Hope you will hop over and take a look at my  junky funnel blog posted in 2012 


What did you see that you liked?

Thanks for your visit. I hope to get back to blogging full time soon.
Audrey Z.

Linking up to: Vintage Charm #42 

Bella Rosa Antiques. Let's Talk Vintage#98

 DIY Salvaged Junk Projects 342 by Funky Junk Donna

Make it pretty Monday at The Dedicated HouseMake Pretty Monday - Week 190


Monday, August 11, 2014

Leaded and stained glass Church windows in our window

I love architectural salvage ...

no doubt about it.

Update: so happy to have this post featured by:  Vintage Inspiration Link Party Logo

 
Thanks ladies for a fun and interesting party and for the features.


 In the late 1970's/early 1980's, we moved to San Antonio, Texas. Right off , I found this guy who demolished old buildings.

He had a treasure trove of beautiful architectural pieces.
 

I thought I was in heaven when I found these three, yes three stained and leaded glass Church windows. 
They came from a Church in Houston, Texas that was built in 1903, if I remember correctly. 

They were complete with beautiful wooden frames and original hinges on each window.

We replaced rotted wood in the bottom part of one of the frames and replaced broken and missing glass. I was lucky enough to have some green stained glass from another church window to replace the parts in the wreath.
    
The student artist who did the glass work, had some old glass he could use. He said some of the glass was Tiffany-style glass and could have been made by Tiffany, but the windows were not. He was so excited to get to work on this one.
   
This is the area where the repair work was done. This middle window is not as wide as the other two and the pattern is changed just a little.
  
We made a 6' wide x 7' tall  x 9" deep room divider using 2' x 6" boards and molding. We painted it ... don't remember what color. We used this divider in our San Antonio and Michigan house.


We added florescent lights in the top of the divider and glass shelves on the back side of the windows. This gave us a view of the windows from both sides. We displayed clear glass and crystal on the shelves. The electric cord for the lights was hidden under the molding. .... this divider is now being used in our workshop to store cans of paint, etc.


  The magnificent candelabra and wreath is beautiful in the full length of the window.

No staging here ... they are mounted in our 6'x6' window behind our TV and floor lamp. We have lights mounted above them and enjoy them at night too. These pictures were taken during the day with natural sunlight behind them. 

You will notice some leading that may run at an angle across the glass or be in a place other than the normal pattern ... this is an old repair where the glass was cracked.                                                                                                                  Each window has eight thin metal bars running across them in several places for stability and protection.                                                              This is the side that would face outward.

All windows are 70" tall, The first and third one is 23½" wide and the middle one is 20" wide. We added spacers to the window to make them fit.


The two outside windows are hinged and can be opened for light or fresh air. They stay closed the majority of the time. The middle one is suspended from the top of the window with hooks.

Hope you enjoyed seeing one of my most treasured thrifting finds.


Thanks

Linking to:
Revisionary Life ... Thrifty Life Thursday  Thrifty Life Thursday


 A Stroll Through Life: Inspire Me Tuesd


ayA Stroll Thru Life
The Dedicated House: Make it Pretty Monday
The Dedicated House

Kathie with an E ... You are Gonna Love it Tuesday


Knick of Time Tuesday.Vintage Inspiration PartyVintage Inspiration Link Party Logo


Monday, December 30, 2013

DIY Plate Rack in the Bathroom.Plumbing issues resolved.


The Big Cover-Up ...

Just before Thanksgiving, we had some serious plumbing issues which resulted in abandoning all the leaking copper pipe in the foundation and running new water lines through the attic. 


 this blog was featured by: 

Call it Junkin 
Button


Thanks ladies ....Such an honor.


This left us with numerous areas where they had to cut large holes in the walls to get to the connections. We had from two to six plumbers here every day for at least seven days. 


This wall is where they accessed the pipes that service the tub/shower/toilet in the main bath. More holes were cut in the wall behind the toilet. 

This was in our office where they had to access the pipes to the lavatory in this bath. These walls were plastered, so an easy fix.


Putting it all back together ... 
Walls that were wallpapered were the biggest challenge because I did not have any more paper and I did not want to put up new paper. I was able to take some paper from this wall to patch the wall behind the toilet ... (I hope)

This is the entry to the main bath which I wanted to have looking decent for Christmas. The door is off now and you can see the hinges. I had the drywall man plaster up four feet because I planned to put wainscoting or something with hooks to hang towels ...
but scrapped that idea and went with this ...


... a narrow plate rack shelf

My inspiration.    
I had seen this in Bre's kitchen tour at Rooms For Rent
and thought it would work for this space for magazines, art and maybe towels. I printed out the picture and that was my work sheet.

It will be behind the door when the door is open and was made to fit that space without the door hitting it.
(Details at bottom of post)

   
2" wide shelf is just enough space for a few small books 
and a picture.
 
I did this charcoal drawing of a sleepy little kitten in 1973 and she has spent most of her life in a closet. Now she is out to be enjoyed. 


Same height as the door and can still see wall paper at the top.


I printed out a sign "Life is Good ... Hot Water ... Clean Towels" but have not had time to make a painted sign.


Not room to back up and get a full length picture.


The shabby pink piece is an architectural salvage from a cabinet. 


I sat a decorative wooden piece on the top and added some items of interest.  (actually it is the top of a chair back)
 The vintage pink frame makes a nice place to display pictures ... just clipped to the hanging wire.

The Santa graphic came from Karen at Graphic Fairy that I printed it on a sheet music graphic from Knick of Time.

You must visit these blogs ... great graphics for FREE !!!


Standing at the vanity; this is the reflection in the mirror.
Sorry, no natural light for pictures.


Shelf details ...

 Size: 80" tall ... 33" wide ... 2½" total depth. 
2" display space in the shelves.
 
I bought a 4'x8' piece of 3/8" thick unfinished exterior bead-board paneling.  Two 1" x 4" x 8' pine boards for the side and top frame ... and four 1" x 4" x 36" pieces for the shelves. Several pieces of screen molding for the facing on the shelf and the brace across the shelf and used a ¾"x¼" shoe mold that I had on hand to finish off the exposed side.  I cut everything to size and primed and painted them before assembly. Sanded and then re-painted after I had it assembled. Frame and shelf boards had to be ripped to size. This shelf is just screwed to the wall and can be removed if needed. 


Shelves can be spaced to meet your personal needs. 

This little piece was added to hold the screen mold brace. 

If you have any questions or want more details, please ask.

Hope to inspire ... Thanks for the visit and hope you will let me know you were here. 

Blessings and HAPPY NEW YEAR.


Linking to:

Before and After Wednesday...The Dedicated House

One More Time Events
MondayFunday   
Monday Funday Link Party at thatswhatchesaid.net

One More Time Events
Nifty Thrifty Things...Nifty Thrifty Sunday #137
Funky Junk  Interiors
 Jenniferrizzo - Fabulously Creative Friday
French Country Cottage ...The Feathered Nest Friday

The Thrifty Groove Thrifty Things Friday 
Embracing Change Creative Inspirations Linky Party

Lavender Garden Cottage Style Party

Knick of Time ... Tuesday

Wow Us Wednesdays @ Savvy SouthernStyle 

Ivy and Elephants What's It Wednesday


 You're Gonna Love It Tuesday @ Kathe with an E 

We Call it JUNKIN


Related Posts Plugin for WordPress, Blogger...